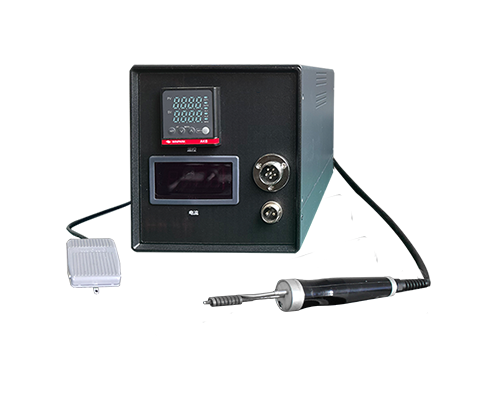
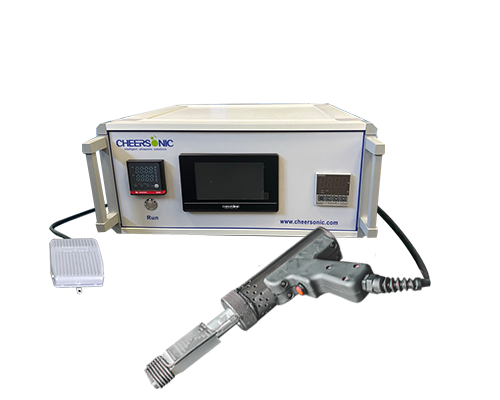
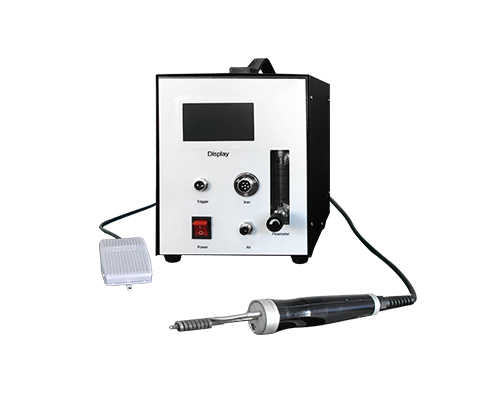
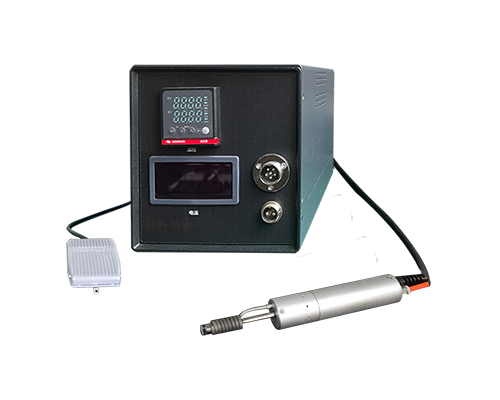
Ultrasonic soldering iron is suitable for welding temperature-sensitive silicon crystal devices because of its low temperature and precision welding ability. Before welding silicon crystal devices, it is necessary to make full preparation and understand the welding process and working principle to ensure that the welding quality and the performance of the device are not affected.

1. Prepare
Before soldering silicon crystal devices with ultrasonic soldering iron, the following preparations are essential:
● Equipment selection: Select the ultrasonic soldering iron suitable for welding semiconductor and silicon crystal devices, and its power should be adjusted according to the thickness and complexity of the material to be welded. In general, sophisticated electronic components require lower power ultrasonic equipment.
● Solder selection: For silicon crystal devices, low-temperature solder is usually preferred. Alloy solders containing silver or indium are recommended, which have a low melting point and are suitable for temperature-sensitive devices. In addition, ensure that the solder has good wettability and adhesion with silicon crystals and other joining materials (such as copper, aluminum, etc.).
Cleaning treatment: Before welding, ensure that the surface of the silicon crystal device and the electrode area are free of dust, oxides or other impurities. Solvents such as anhydrous ethanol can be used for cleaning to improve welding quality.
2. Welding process
The process of welding silicon crystal devices with ultrasonic soldering iron can be divided into the following steps:
● Step 1: Preheat the device
Start and preheat the ultrasonic soldering iron equipment to the appropriate operating temperature. Although the working principle of ultrasonic soldering iron does not rely on traditional high temperature welding, preheating still ensures welding efficiency.
● Step 2: Positioning and fixture preparation
Use a suitable fixture or fixture to secure the silicon crystal device to ensure that the device does not shift during welding. Accurate positioning is essential for the welding of precision components such as silicon crystals.
● Step 3: Ultrasonic welding
Touch the head of the ultrasonic soldering iron to the welding point and start the ultrasonic vibration. At this time, the ultrasonic vibration will produce local high-frequency mechanical vibration in the welding area, and generate heat through friction, so that the solder can melt. The solder forms a liquid state under the action of vibration and heat, fills the weld spot, and firmly binds the silicon crystal to the wire or other electrode.
● Step 4: Cooling and inspection
After welding is complete, remove the soldering iron tip and let the welding spot cool naturally. After the solder solidifies, check whether the solder joint is firm, whether the welding is uniform, and whether there are problems such as virtual welding or excessive solder joints.


